Layers and blend modes
How Photovibe stacks layers, and what each of the thirteen blend modes does.
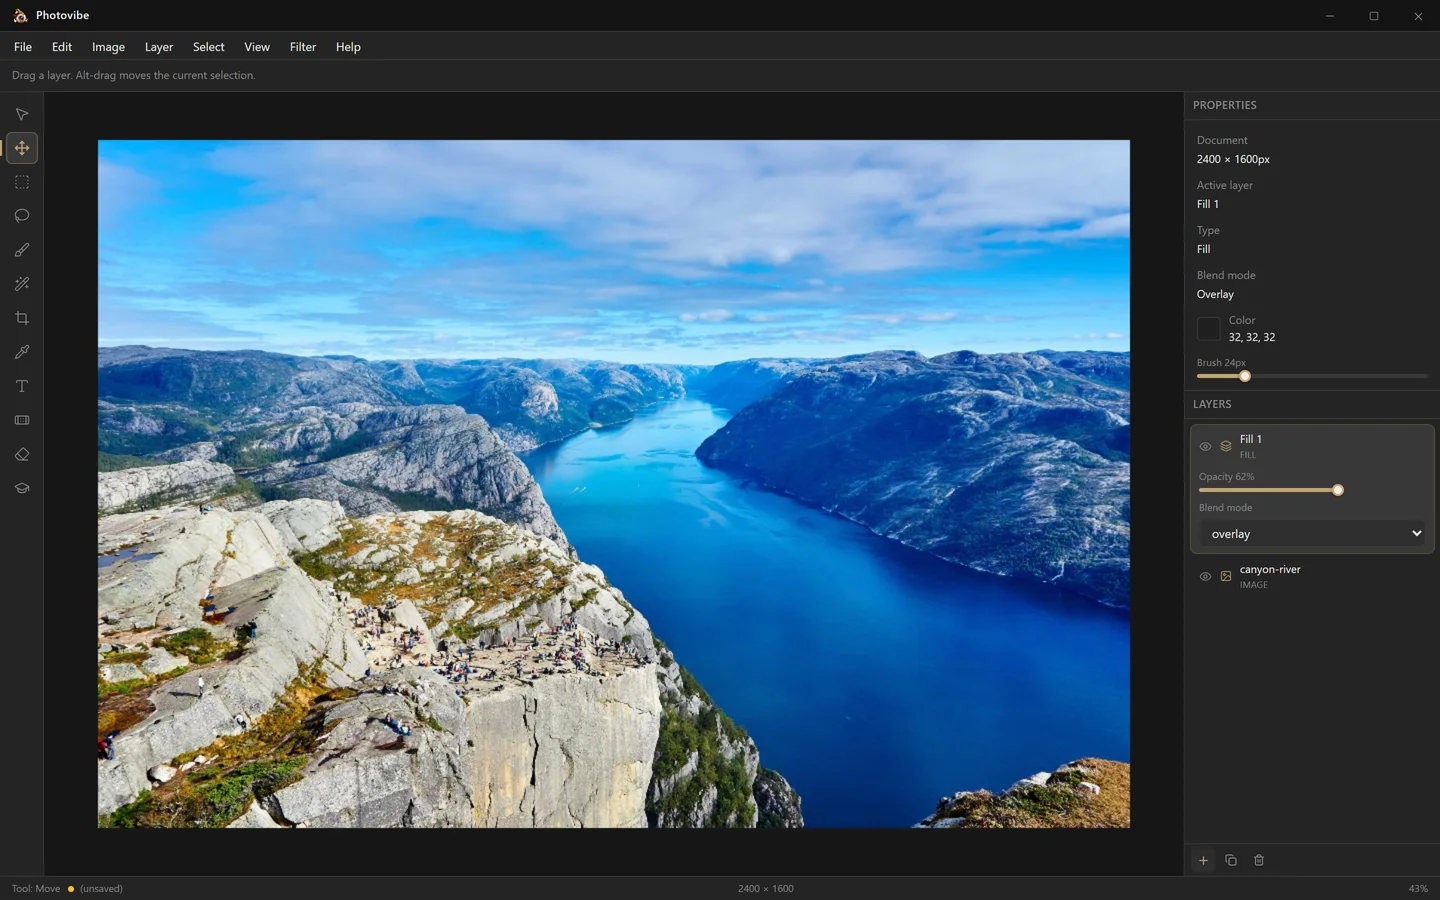
Everything in a Photovibe document lives on a layer. The Layers panel on the right shows the stack with the topmost layer first, and the selected layer expands to reveal its opacity and blend mode.
Layer types
| Type | Where it comes from |
|---|---|
| Image | Opening a photo, or pasting from the clipboard. |
| Paint | A blank pixel layer you draw on. |
| Fill | A solid colour across the whole canvas — the fastest way to tint or tone a photo. |
| Text | Created by the Text tool; stays editable. |
| Background | The bottom layer of a document created with File → New. |
Working with the stack
- Add a layer — Layer → New Layer (Ctrl+Shift+N), or the + button at the bottom of the Layers panel, which adds a fill layer.
- Duplicate — Layer → Duplicate Layer (Ctrl+D).
- Delete — Layer → Delete Layer, or the bin icon. The last remaining layer cannot be deleted.
- Hide — click the eye icon next to any layer.
- Select — click a layer row. The Properties panel above always describes the selected layer.
Opacity
The opacity slider on the selected layer runs from 0 to 100%. It applies to the whole layer, after its own contents are composited but before the blend mode combines it with what is underneath.
Blend modes
A blend mode decides how a layer’s pixels combine with everything below it. Photovibe implements thirteen, computed on the GPU:
| Mode | Effect |
|---|---|
| Normal | The layer simply covers what is below, subject to its opacity. |
| Multiply | Multiplies the colours. Always darkens; white leaves the base untouched. |
| Screen | The inverse of Multiply. Always lightens; black leaves the base untouched. |
| Overlay | Multiplies dark areas and screens light ones. Boosts contrast. |
| Soft Light | A gentler Overlay — like a diffused light source on the image. |
| Hard Light | A stronger Overlay, driven by the top layer instead of the base. |
| Colour Dodge | Brightens the base to reflect the blend colour. Very strong highlights. |
| Colour Burn | Darkens the base to reflect the blend colour. Very strong shadows. |
| Darken | Keeps whichever of the two colours is darker, channel by channel. |
| Lighten | Keeps whichever is lighter, channel by channel. |
| Difference | The absolute difference between the two. Useful for comparing versions. |
| Exclusion | Like Difference but lower contrast. |
| Luminosity | Takes the brightness of the top layer and the colour of the base. |
A practical recipe
To warm up a photo without touching the original pixels:
- Open the photo.
- Click + in the Layers panel to add a fill layer.
- Set its blend mode to Overlay or Soft Light.
- Pull opacity down to roughly 40–60% until it looks right.
Because the tint lives on its own layer, you can hide it, change the blend mode, or delete it at any point — the photo underneath is untouched.
What is not here yet
Layer masks and non-destructive adjustment layers are on the roadmap but are not implemented yet. The menu entries exist and are greyed out.